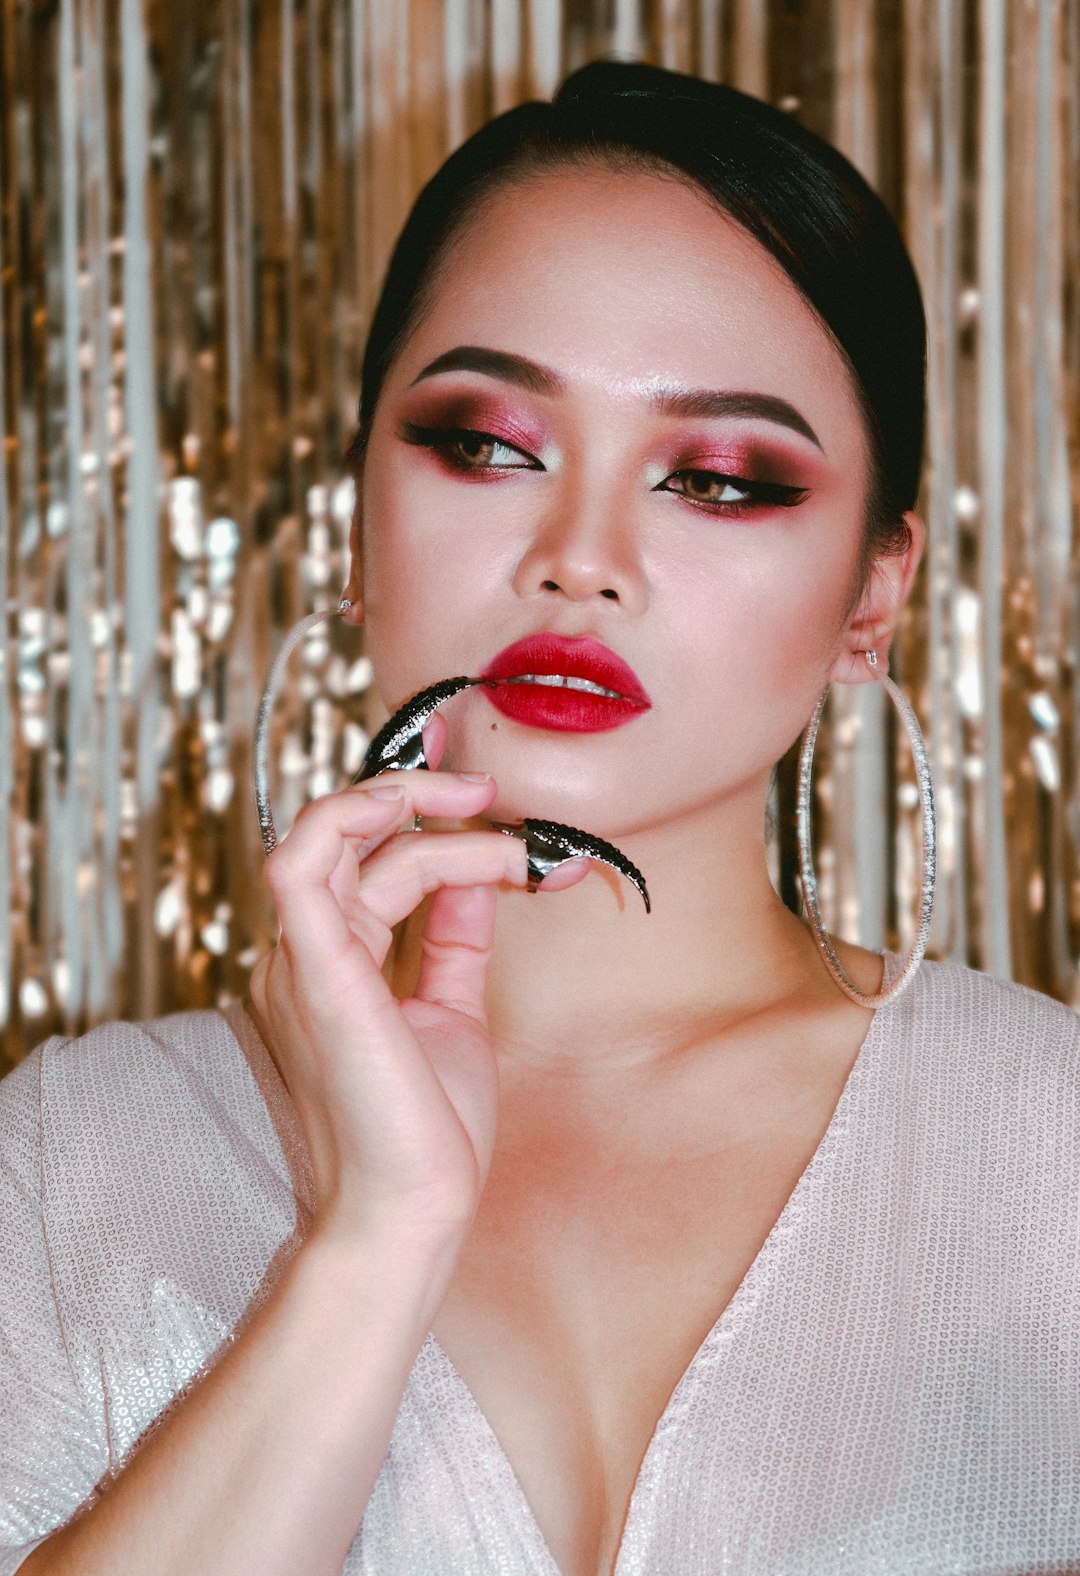
Feeling overwhelmed by the endless array of makeup brushes, sponges, and applicators on the market? We've simplified the process by identifying the truly essential tools that every makeup beginner should invest in. These versatile items will help you create everything from everyday looks to special occasion glam without breaking the bank.
Why Quality Tools Matter
Before diving into specific recommendations, let's address an important question: Why invest in good makeup tools when you could just use your fingers or the applicators that come with products?
As professional visagistes, we can tell you that even the most expensive, high-quality makeup products won't perform their best without the right tools. The right brush or applicator can:
- Provide more precise and controlled application
- Create a more seamless, blended finish
- Help you use less product (saving money in the long run)
- Allow for more creativity and versatility in your looks
- Last for years with proper care, making them a worthwhile investment
That said, you don't need to spend a fortune, especially when you're just starting out. There are excellent mid-range options that offer quality without the luxury price tag.
The Essential Makeup Tools
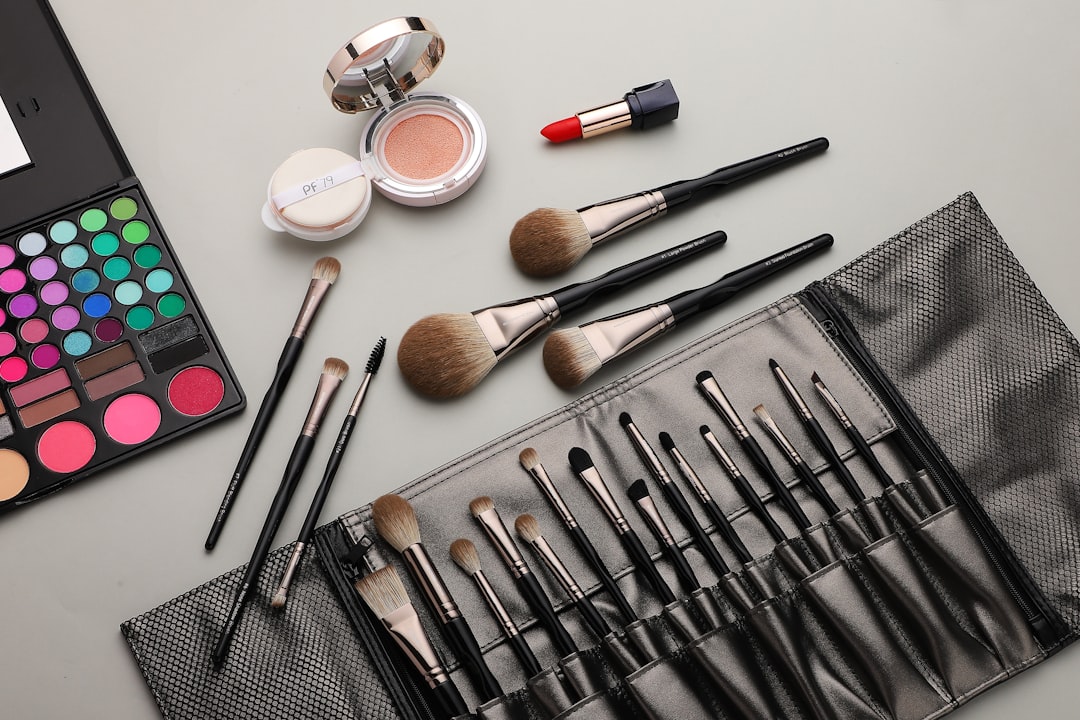
1. Beauty Sponge
If you could only buy one makeup tool, a high-quality beauty sponge would be our recommendation. These egg-shaped applicators revolutionized foundation application when they became popular, and for good reason.
Best for: Foundation, concealer, cream blush, and powder (for pressing into skin)
How to use: Always use damp, not dry. Run under water, squeeze out excess, then bounce (don't drag) the sponge on your skin for a seamless finish. The pointed end works well for under-eye areas and around the nose, while the rounded base is perfect for larger areas of the face.
Pro tip: Wash your beauty sponge after each use to prevent bacterial growth and product buildup. Replace every 3 months.
2. Foundation Brush
While a beauty sponge can handle foundation beautifully, a good foundation brush offers different benefits. It doesn't absorb as much product (saving you money) and can provide more coverage.
Best for: Liquid and cream foundations, tinted moisturizers
What to look for: For beginners, we recommend a dense, synthetic brush with a slightly rounded or flat top. Synthetic fibers work better with liquid products and are easier to clean.
How to use: Apply foundation to the center of your face and blend outward using short, buffing motions. Work in sections for the most even application.
3. Concealer Brush
A small, flat brush allows for precise concealer application, especially around the eyes and on blemishes.
Best for: Spot concealing, precise application under the eyes, and around the nose
What to look for: A synthetic, flat brush with a slightly rounded tip. Small enough for detail work but not so tiny that it takes forever to blend.
How to use: After applying concealer, use the brush to pat and blend the product. For spot concealing, use the brush to place concealer directly on the blemish, then gently tap to blend the edges.
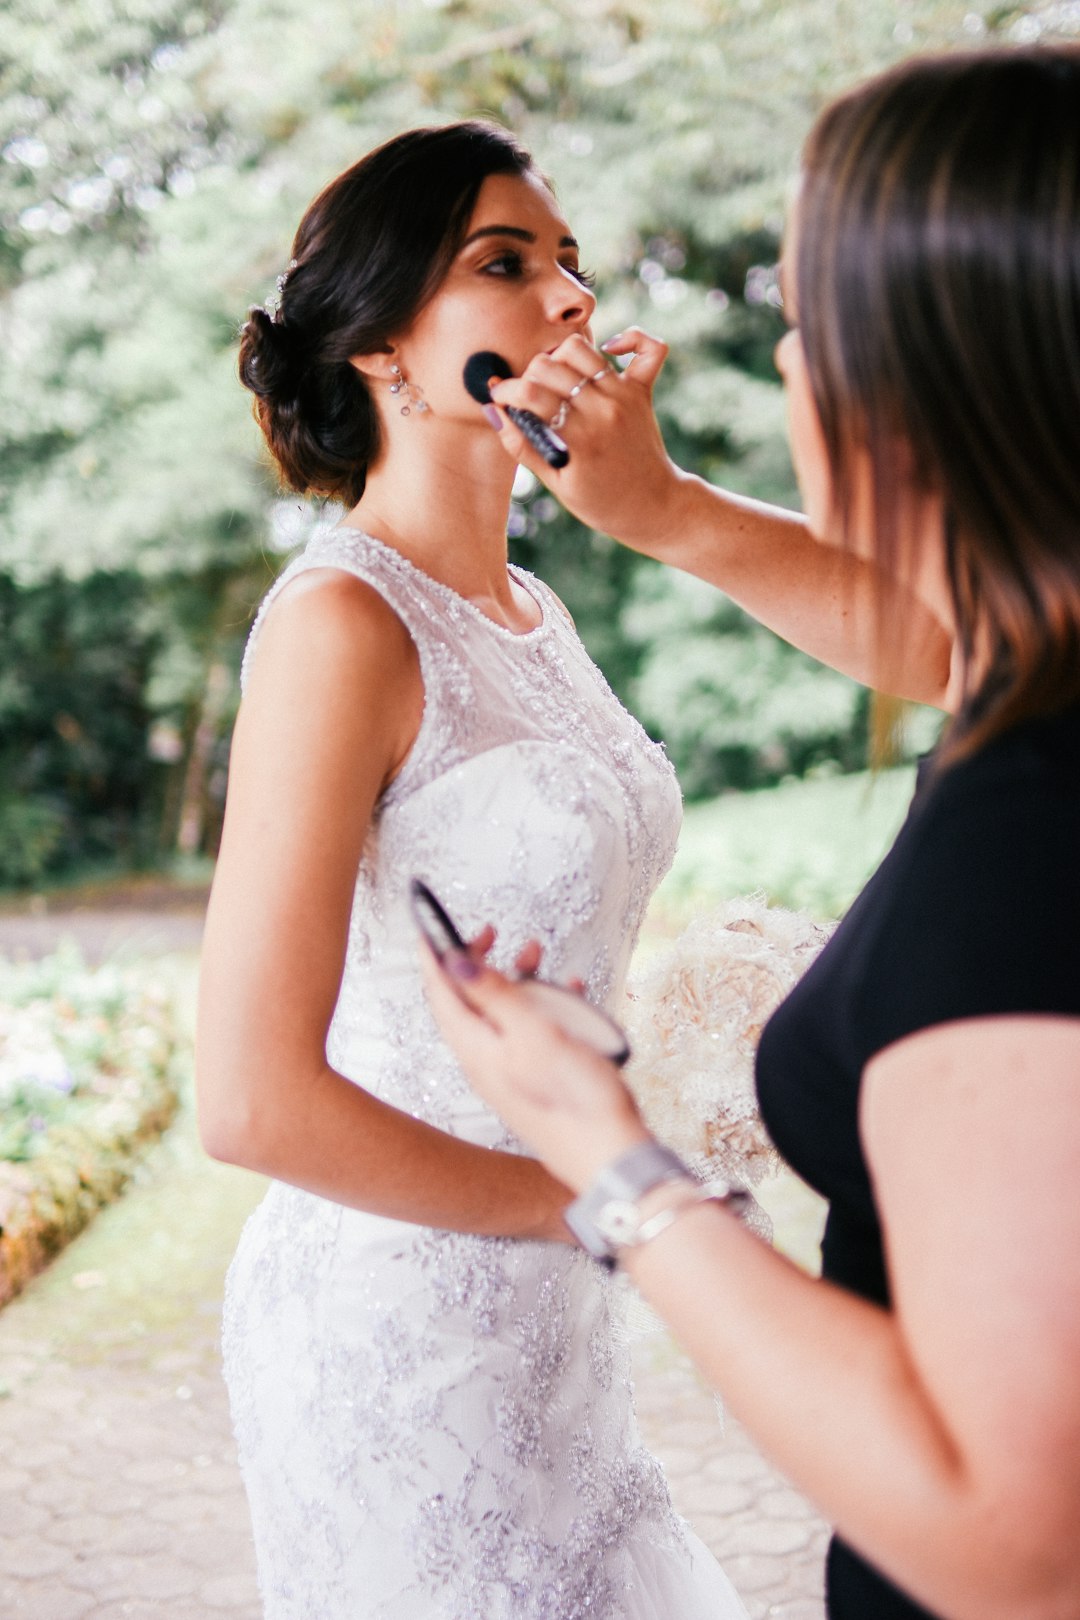
4. Powder Brush
Setting your makeup with powder is crucial for longevity, and the right brush makes all the difference in achieving a non-cakey finish.
Best for: Setting powder, bronzer, or finishing powder
What to look for: A large, fluffy brush with a slightly domed shape. Natural or synthetic bristles both work well for powder products.
How to use: Dip lightly into powder, tap off excess, and apply with sweeping or pressing motions. For a lighter application, hold the brush toward the end of the handle; for more control and coverage, hold closer to the bristles.
5. Blush Brush
A good blush brush should be sized appropriately for the apples of the cheeks and allow for controlled but diffused color.
Best for: Powder blush, bronzer (can double as a contour brush in a pinch)
What to look for: Medium-sized with a dome shape, not too dense but not too floppy. Slightly angled brushes can help with placement.
How to use: Smile to find the apples of your cheeks, apply color with light tapping motions, then blend upward toward your temples using circular or sweeping motions.
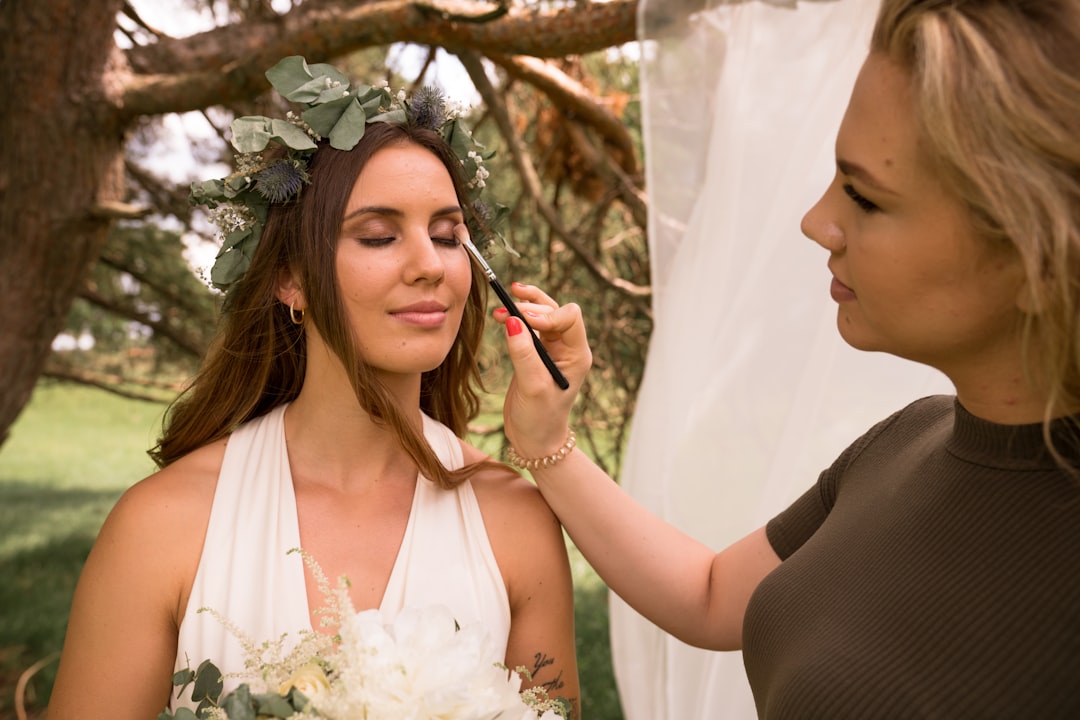
6. Basic Eyeshadow Brushes
Eye makeup requires more precision, so having at least a couple of dedicated eye brushes is important.
Best for beginners:
- Flat shader brush: For applying color all over the lid
- Fluffy blending brush: For softening edges and creating seamless transitions
What to look for: The shader brush should be dense enough to pick up and deposit color, while the blending brush should be fluffy and tapered. Both should be sized appropriately for your eye shape.
How to use: Use the flat brush to pack color onto the lid, then use the fluffy brush to blend the edges and crease area with windshield-wiper motions.
7. Angled Liner/Brow Brush
An angled brush is incredibly versatile and can be used for both eyeliner application and eyebrow filling.
Best for: Gel or powder eyeliner, eyebrow powders, or pomades
What to look for: Thin, firm bristles with a clear, sharp angle. The bristles should be stiff enough to create a precise line but not so rigid that they drag on the skin.
How to use: For eyeliner, dip in gel liner or wet a shadow and draw along the lash line using the edge of the brush. For brows, use light, feathery strokes to mimic natural hair.
8. Spoolie Brush
This often-overlooked tool is essential for grooming and blending eyebrows.
Best for: Brushing through eyebrows before and after product application, removing clumps from mascara
What to look for: Firm bristles that aren't too scratchy, with a slight curve that follows the natural shape of the brow.
How to use: Brush through brows before applying any product to assess shape and direction of hair growth. After applying brow product, brush through again to blend and create a more natural look.
9. Lip Brush
While not strictly necessary for everyday application, a lip brush offers precision that's helpful for bold colors or creating defined lip shapes.
Best for: Precise application of lipstick, especially dark or bright colors, and creating defined edges
What to look for: A small, firm, synthetic brush with a slightly pointed tip. Retractable options are great for carrying in your makeup bag.
How to use: Outline the lips first, then fill in, starting from the center and working outward for the most precise application.
Tool Maintenance and Care
Investing in good tools is only half the equation—proper maintenance ensures they perform well and last for years.
Cleaning Schedule
- Beauty sponges: Wash after each use (or at minimum, every other use)
- Foundation and concealer brushes: Clean weekly
- Eye and lip brushes: Clean after every use with cream products or weekly with powder products
- Powder, blush, and bronzer brushes: Clean every 1-2 weeks
How to Clean Your Tools
- Wet the bristles or sponge with lukewarm water (not hot, as it can damage the glue in brushes)
- Apply a small amount of gentle soap (baby shampoo, dish soap, or specialized brush cleanser)
- Gently massage the bristles or sponge until the water runs clear
- Rinse thoroughly
- Squeeze out excess water (never wring or twist brushes)
- Reshape brush bristles
- Lay brushes flat to dry or hang with bristles pointing downward
Storage
Store brushes upright in a cup or brush holder with bristles facing up to prevent damage. Alternatively, use a brush roll or pouch that protects the bristles when not in use.
Building Your Collection Over Time
Once you've mastered the basics with these essential tools, you can gradually expand your collection based on your specific needs and interests:
- Contour brush: More precise than a bronzer brush, with an angled shape that fits into the hollows of the cheeks
- Highlighter fan brush: For a diffused, delicate application of highlighter
- Additional eye brushes: Pencil brush for detail work, smaller blending brush for precise crease definition
- Stippling brush: For sheer application of liquid or cream products
- Setting spray: Not a brush, but an essential tool for extending the wear of your makeup
Final Thoughts
Remember, the most expensive tools aren't necessarily the best—it's about finding quality items that work with your specific needs and makeup style. Many professional makeup artists mix high-end brushes with affordable finds.
Start with these essentials and master them before expanding your collection. You'll be surprised at how many different looks you can create with just a handful of well-chosen tools!
What's your must-have makeup tool that you can't live without? Share in the comments below!