Your wedding day makeup needs to look beautiful in person, photograph well, and last through tears, kisses, and dancing. Our professional visagistes share their insider secrets for creating stunning bridal looks that withstand the test of time and emotion. Learn about the best long-wearing products, waterproof formulas, and application techniques.
Planning Your Bridal Beauty Timeline
A flawless wedding day look begins months before you say "I do." Here's the ideal timeline for bridal beauty preparation:
6-12 Months Before
- Begin or adjust your skincare routine to address any specific concerns
- Consider treatments for persistent issues (acne, hyperpigmentation, etc.)
- Start researching makeup artists and collecting inspiration images
3-6 Months Before
- Book your makeup trial(s)
- Schedule any professional skin treatments (allow time between treatments in case of reactions)
- Begin monthly facials if they're part of your plan
1 Month Before
- Confirm final details with your makeup artist
- Avoid trying new skincare products that might cause reactions
- Increase water intake for hydrated skin
- Schedule your final facial (at least two weeks before the wedding)
1 Week Before
- Maintain consistent skincare routine
- Get plenty of sleep
- Stay hydrated
- Avoid salty foods that can cause puffiness
The Day Before
- Gentle cleanse and moisturize
- No harsh exfoliation or new products
- Prepare a touch-up kit for the wedding day
- Get a good night's sleep
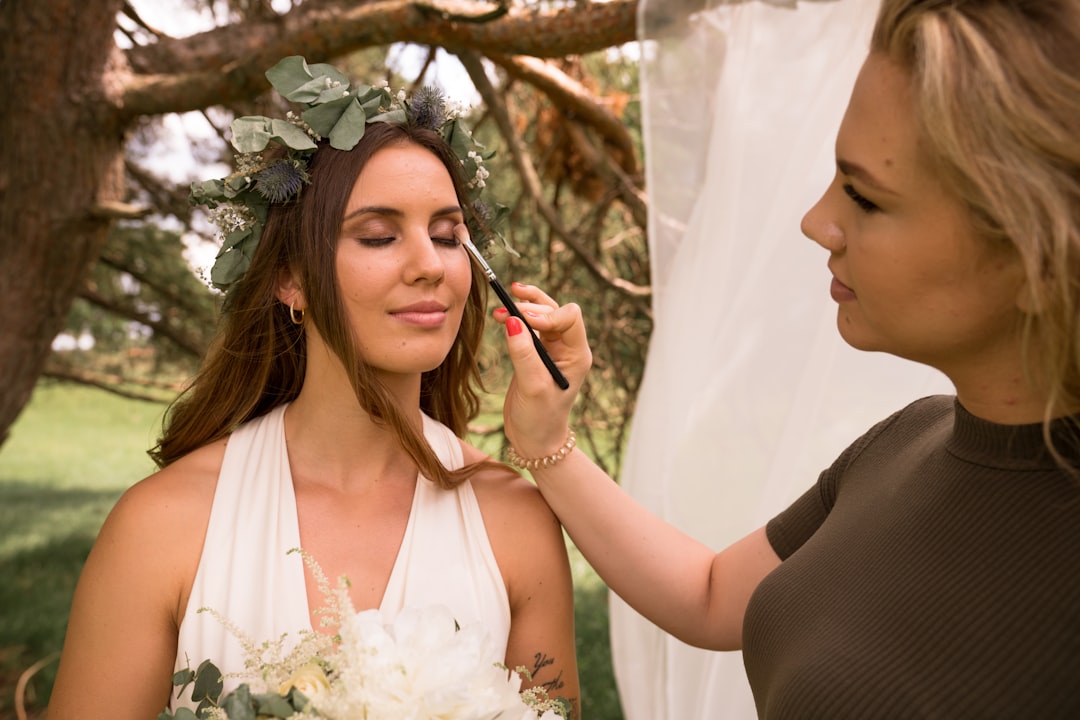
The Makeup Trial: Making the Most of It
The makeup trial is crucial for ensuring your wedding day look is exactly what you want. Here's how to make the most of this important appointment:
Before Your Trial
- Gather inspiration: Collect photos of makeup looks you love, but be realistic about how they'll translate to your features
- Prepare your skin: Follow your regular skincare routine
- Come with a clean face: Arrive without makeup so the artist can see your natural features and skin condition
- Bring photos of your dress: The makeup style should complement your overall bridal look
- Consider your venue and timing: Different lighting conditions and daytime vs. evening weddings call for different approaches
During Your Trial
- Be honest: Communicate openly about what you like and don't like
- Ask questions: Learn about the products being used and techniques
- Test longevity: If possible, schedule your trial for morning and see how the makeup wears throughout the day
- Take photos: In different lighting, both with and without flash
After Your Trial
- Note how the makeup feels on your skin throughout the day
- Check the photos to see how the makeup photographs
- Make notes about any adjustments needed
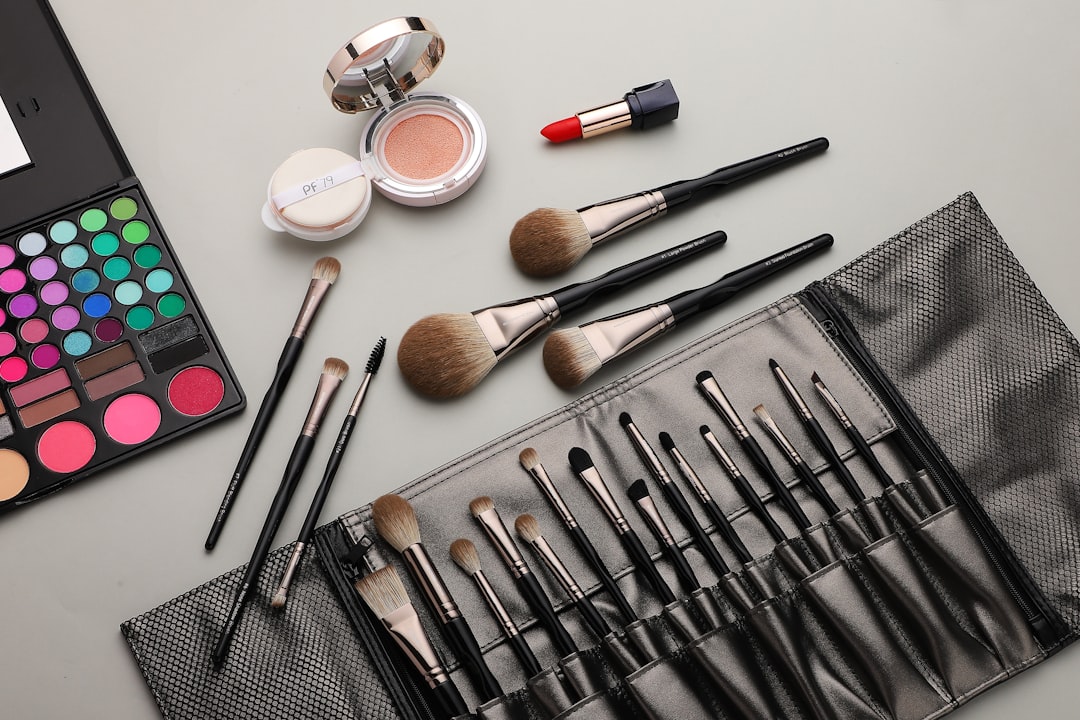
Building a Long-Lasting Bridal Makeup Look
Creating bridal makeup that lasts from morning preparation through the final dance requires specific techniques and products. Here's our professional approach:
Prep: The Foundation of Longevity
Proper skin preparation is non-negotiable for long-lasting makeup:
- Cleanse: Start with clean skin
- Hydrate strategically: Use lightweight, fast-absorbing moisturizers
- Prime with purpose: Choose primers specifically for your skin type and concerns:
- Oily skin: Mattifying primers with silica or clay
- Dry skin: Hydrating primers with hyaluronic acid
- Redness: Color-correcting green-tinted primers
- Large pores: Pore-filling formulas
Pro tip: Allow each layer to set before applying the next. Rushing through skin prep can cause products to pill or separate later.
Foundation: Building the Perfect Canvas
Wedding day foundation needs to look flawless in person, photograph beautifully, and last all day:
- Choose long-wearing formulas: Look for terms like "24-hour," "long-wear," or "transfer-resistant"
- Avoid high SPF: While sun protection is important, foundations with SPF above 30 can cause flashback in photos
- Application technique matters:
- For maximum coverage and longevity: Apply with a flat foundation brush, then press in with a damp beauty sponge
- Build in thin layers rather than one thick layer
- Focus coverage where needed rather than applying heavily all over
- Set strategically: Use translucent setting powder, focusing on the T-zone and under eyes
Pro tip: For brides with dry skin, mix a drop of liquid illuminator into foundation for a natural glow that looks beautiful in photos without appearing greasy.
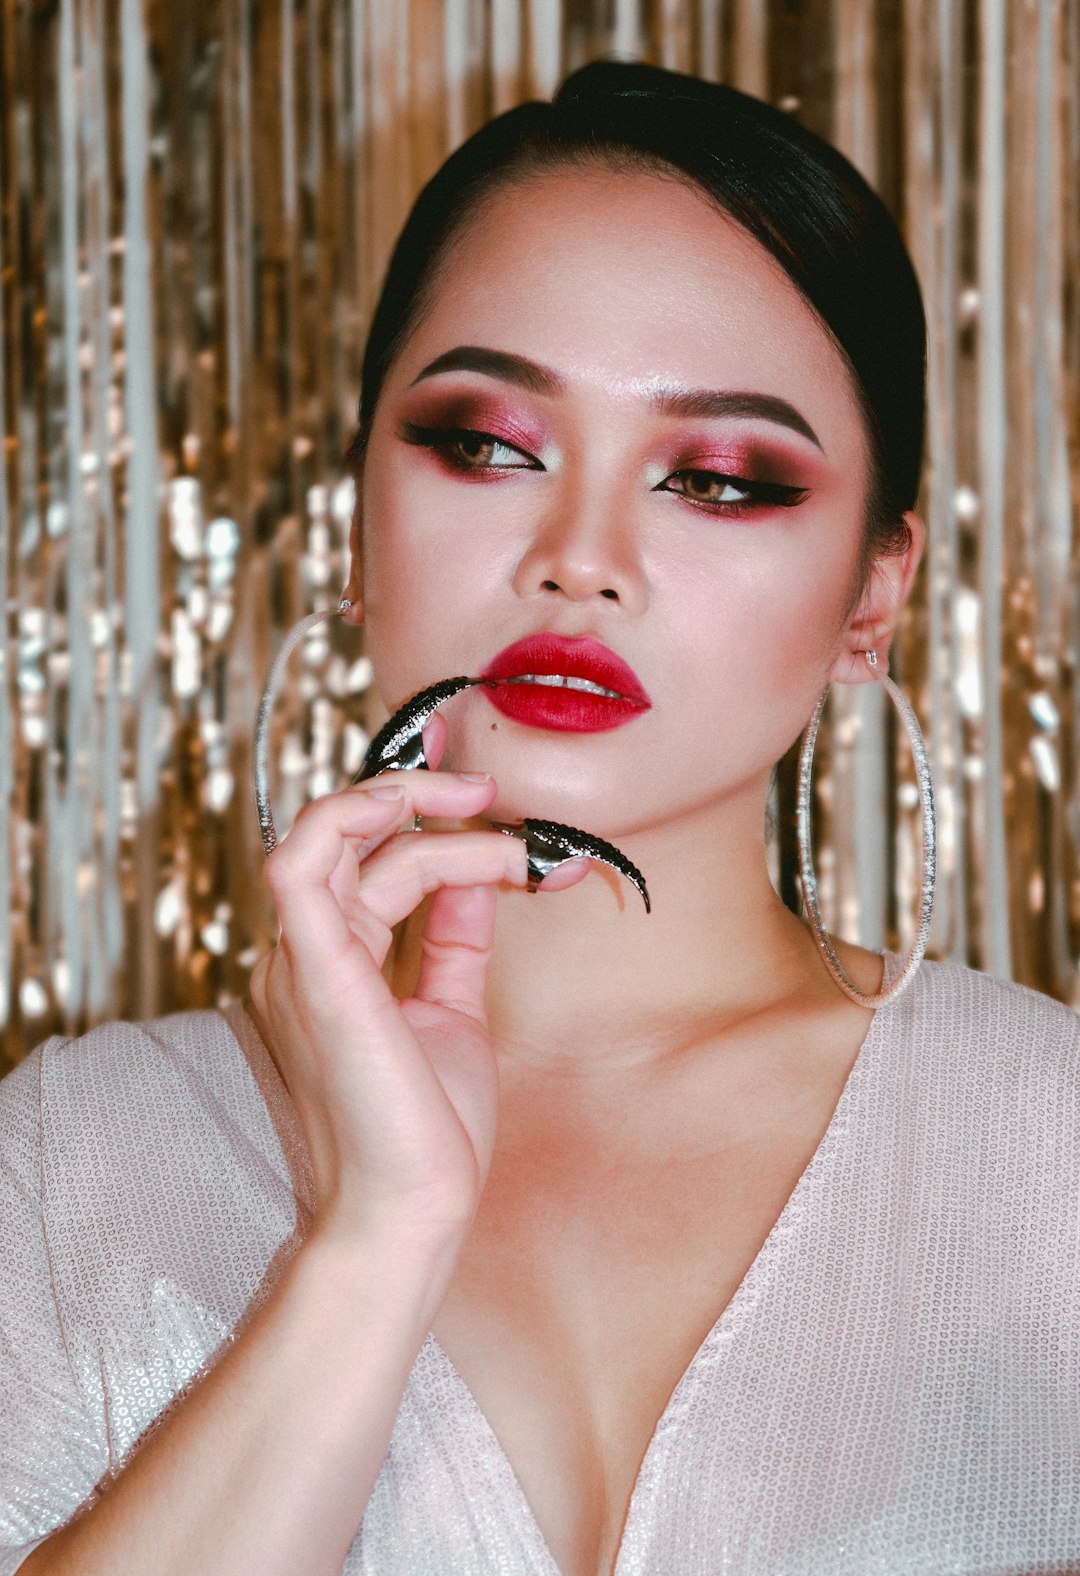
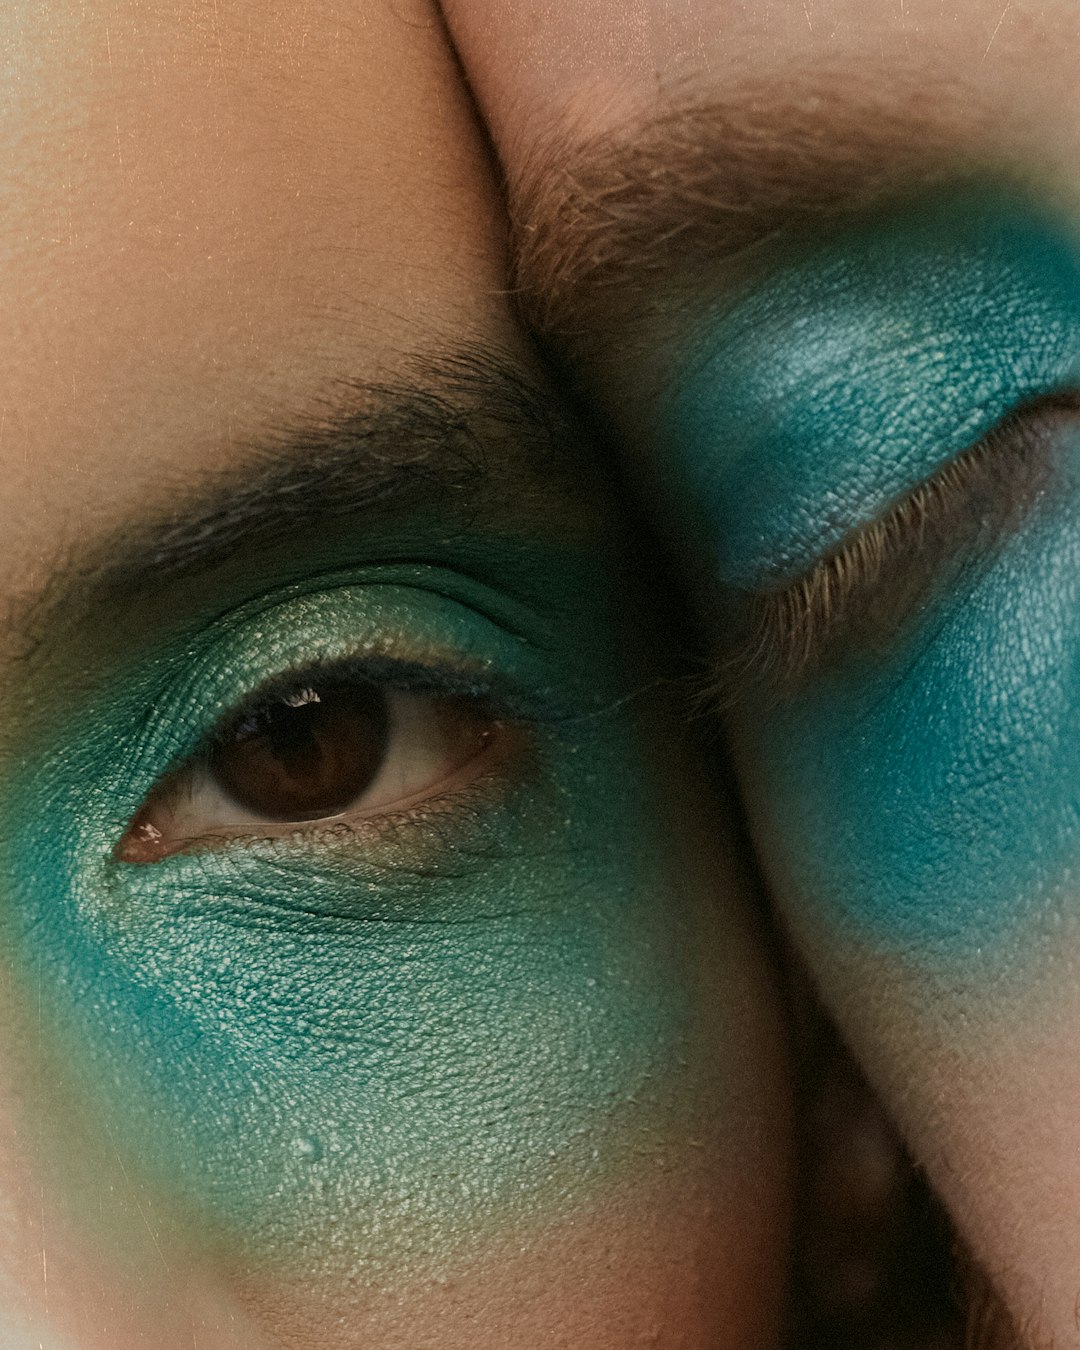
Eyes: Tear-Proof and Timeless
Eye makeup is particularly vulnerable on emotional days. Here's how to ensure it stays perfect:
- Prime the lids: Eye primer is essential, not optional, for bridal makeup
- Set the primer: Apply a skin-toned eyeshadow over primer before color eyeshadows
- Layer powder over cream: For maximum longevity, apply cream products first, then set with powder products
- Waterproof everything:
- Eyeliner: Gel or waterproof pencil, set with powder shadow in the same shade
- Mascara: Waterproof formula, applied in thin layers
- Brows: Use long-wearing brow products like pomades or waterproof gels
- False lashes: Choose individual lashes or natural-looking strips with flexible bands and use dark lash glue that dries black
Pro tip: Avoid heavy shimmer directly under the brow bone or on the inner corners, as it can create strange reflections in flash photography. Opt for subtle satin finishes instead.
Cheeks: Blushing Beauty That Lasts
A flushed, glowing cheek looks beautiful but needs to be built to last:
- Layer cream and powder: Apply cream blush first, then set with a similar-colored powder blush
- Placement matters: Place blush slightly higher than you normally would, as it tends to drop throughout the day
- Buildable approach: Start sheer and build gradually—photos tend to minimize blush, so go slightly stronger than your everyday look
- Highlighter with caution: Choose finely-milled, subtle highlighters without chunky glitter that can look strange in flash photography
- Bronzer application: Use matte bronzer for contouring and apply with a light hand
Pro tip: After applying powder blush, lightly dust a small amount of translucent setting powder over it to help it blend seamlessly with the skin while extending wear time.
Lips: Kiss-Proof and Comfortable
Your lips need to withstand kissing, talking, eating, drinking, and still look beautiful:
- Prepare properly:
- Exfoliate lips the day before (not the day of)
- Apply lip balm during skin prep, then blot before makeup application
- Define with precision: Use a lip liner in a shade that matches your natural lip color to outline and fill in the entire lip
- Long-wearing formula: Choose one of these approaches:
- Long-wear liquid lipstick with a hydrating gloss on top
- Traditional lipstick applied, blotted, reapplied, and blotted again
- Lip stain as a base with lipstick on top
- Prevent feathering: Set the edges of the lips with a tiny amount of translucent powder
Pro tip: Choose a lip color slightly more vibrant than what you think you want—lips tend to look more muted in professional photos, and color fades throughout the day.
Setting: The Final Shield
The final step is crucial for makeup longevity:
- Setting spray technology: Use a bridal-specific setting spray designed for photography and all-day wear
- Application technique: Hold the bottle 8-10 inches away and apply in an X and T formation
- Layer setting: For maximum longevity, apply setting spray after foundation/concealer, again after powder products, and a final layer when makeup is complete
Pro tip: Allow setting spray to dry naturally rather than fanning or blotting it dry, which can disrupt the setting polymers.
Essential Touch-Up Kit
Even with the most bulletproof application, having a small touch-up kit for the reception is wise. Assign a bridesmaid or trusted friend to keep these essentials:
- Blotting papers (for oil control without disturbing makeup)
- Your lip color and a small lip brush
- A small compact of pressed powder and puff
- Q-tips for quick fixes
- Waterproof mascara (for after emotional moments)
- Mini setting spray
Photography Considerations
Wedding makeup needs to look beautiful both in person and in photographs, which have different requirements:
Flash Photography
- Avoid products with high SPF or silica that can cause flashback (white cast in photos)
- Test your foundation with flash photography during your trial
- Be cautious with highlighter placement and intensity
- Define features slightly more than usual, as cameras can flatten the face
Natural Light/Outdoor Photography
- Ensure blending is immaculate, as natural light reveals texture
- Consider slightly warmer tones if your ceremony is during "golden hour"
- Use oil-control products if you'll be in humid or hot environments
Special Considerations
For Brides Wearing White
A bright white dress can make your face appear washed out in photos. Consider:
- Slightly warmer foundation (not orange, just not too pink or neutral)
- More defined contour and blush than your everyday look
- Making sure your neck and chest match your face if exposed
For Winter Weddings
- Extra hydration in your prep routine
- Cream products beneath powders for a natural glow
- Slightly rosier cheeks to combat winter pallor
For Summer Weddings
- Oil-control primers in the T-zone
- Setting powder applied strategically
- Waterproof everything
- Multiple layers of setting spray
Final Thoughts
While these technical aspects are important, remember that the most beautiful bridal makeup enhances your natural features and makes you feel confident. You should still look like yourself—just the most radiant, polished version.
The ultimate goal is to create a look that allows you to be fully present on your wedding day, confident that your makeup will look beautiful from the first photo to the last dance, without requiring constant worry or touch-ups.
Remember, a skilled professional visagiste doesn't just apply makeup—they understand the technical requirements of creating a look that withstands the unique demands of a wedding day while making you feel like the most beautiful version of yourself.
Are you planning your bridal beauty look? What questions do you have about creating long-lasting wedding makeup? Share in the comments below!